Wednesday, February 5, 2014

How To Choose The Right Grass For Your Yard?


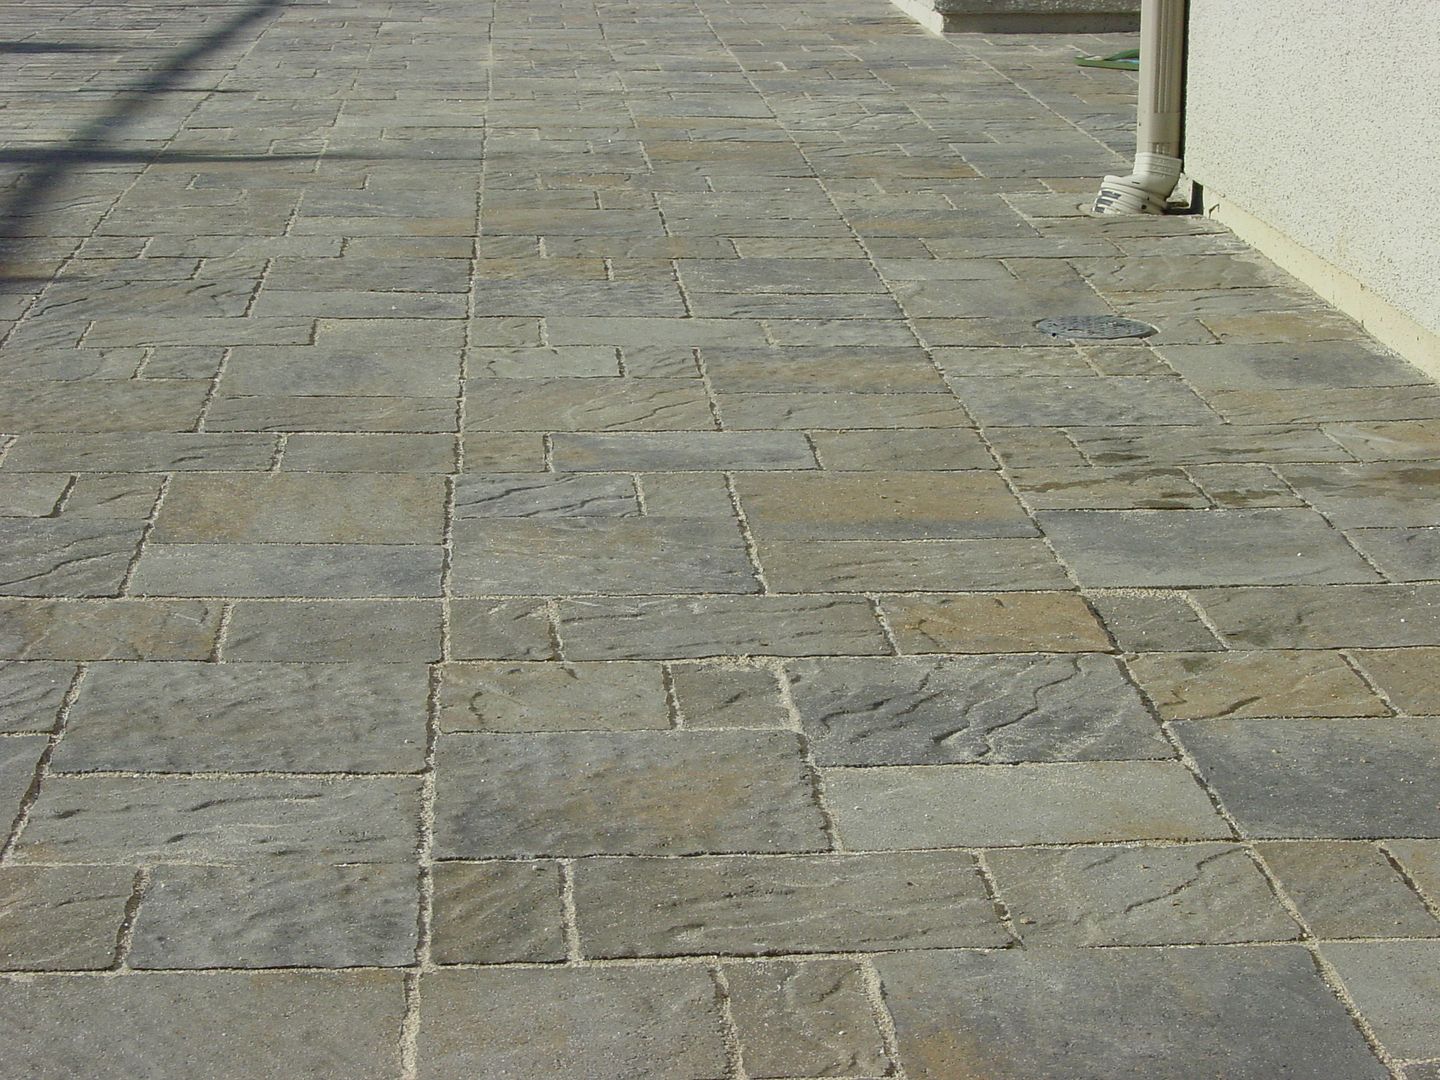
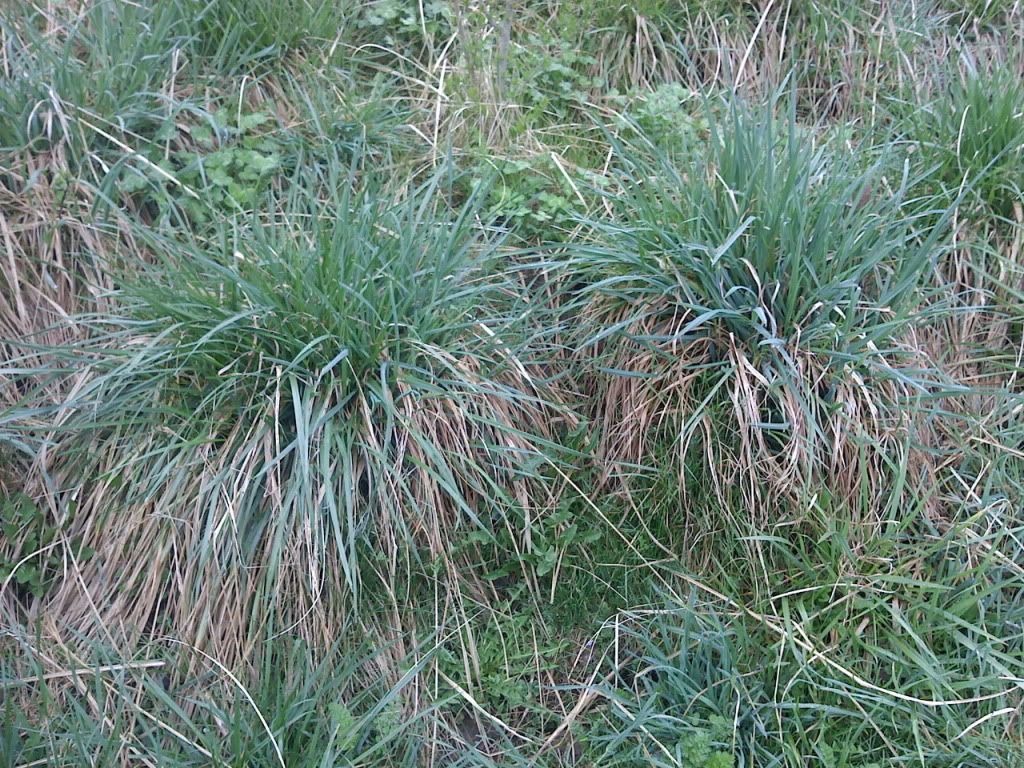
Having a lush green grass in a yard is very easy to have now, because we have many new hybrid grasses that look very good and it shrug off drought, disease, and insects.


The plant scientists have not been able to develop a single type of grass that will grow in every area and climate. So I will need to go through all the choices and then choose what would be the best type of grass for my yard.


All lawn grasses are in either cool or warm season. Cool season grasses grow faster in the fall and spring and then slow down in summer and winter. So they are at home in the cool, moist north. Warm season grasses grow fastest during the heat of summer and turn brown as the weather cools. Warm season grasses grows in warm, hot climates.


Zone 1 Humid Northeast and Northwest

This zone is good for cool season grasses such as, perennial rye grass, Kentucky blue grasses, and fine fescues.

Kentucky bluegrass is the preeminent choice for this zone. It has fine texture, quick growth, deep color, and outstanding cold hardiness.

There are many new hybrids that has improved disease resistance. Midnight or Unique has a blend of disease-resistance.  Challenger, Opal, Washington, Cobalt, Livingston, and Midnight will remain a handsome dark green grass with less fertilizing.

Perennial rye grass is mixed sometimes with Kentucky bluegrass and this provide quick cover until the bluegrass establishes itself.

Divine, Stallion Supreme, Stallion Select has endorphins which is leaf-inhabiting fungi that kill leaf-feeding insects or repel.

Fine fescues are the best type of grass for cool season choice for shaded areas, which requires  less mowing and fertilizing. Flyer Aurora, Brigade, Banner 11, and Discovery are put with Kentucky bluegrass.


Zone 2

Transition Zone

This is where the Southern and Northern lawn climate zones int erect. If your yard are exposed to the south-facing slope and it is where the sun is intense and heat will favor a warm-season grass. Now if your yard is a cooler north facing, it will prefer a cool season grass.

Tall fescue which is a cool season grass which are ideal where the summer are very hot for other cool season grasses and the winters are to severe for warm season grasses.  These grasses are planted in the East and also in the milder parts of the Southwest.

These types of grass that has endorphins are Earth Save, Titan 11, Rebel 111, and Tarhead.


Zones 3 and 4 Humid Southeast

Bermuda grass, zoysia, and other warm season grasses grows very well in these zone.

Bermuda grass is very good type of grass for this areas because it is heat and drought tolerant and fast spreading.

Zoysia  goes well in most Southern lawns. This type of grass is one that starts very slowly, but in time it is relatively low maintenance and tolerates traffic, heat, and drought. These are names of some of the zoysia grass and they are Victoria, De Anza, El Toro, and Emerald. These grasses offer longer color offer faster growth, and a finer texture.

St. Augustine grass grows only in the mildest regions of the south. This grass can not tolerate prolonged temperatures below 25 degree F. Flora tam is the one that is used the most often. I have St. Augustine and Bermuda grasses in my yard.

Zone 5 Cool, Dry, West

The cool season grasses will grow here, but they have to have a lot of watering so they can grow.

But if watering a lot is not something that you can do if you live there, you can use buffalo grass. It is low maintenance once you get your grass established. It browns when the first frost comes, and it is slow to become green  in the spring. This grass is very cold-tolerant. Two  new varieties of grass are Cody and Bison.

Zone 6 Arid and Semiarid Southwest

The difference between zone 3 and Zone 6 is rainfall. There are a lot of rain in one area and not much rain in the other area.

Bermuda grass is the best choice and the other two alternatives are zoysia and St. Augustine.


As you see we have six different zones in the U. S. A .  In each zone, you will have to used the grass that will grow in your zone.

All About Pavers.


Interlocking pave rs are a very popular surfacing materials for patios, driveways, and walks. They are easy to install and when set on a firm         properly prepared sub base, they will hold up to foot traffic and heavy loads under many different weather conditions, without sinking, cracking, or shifting.


With them being set in sand, the pave rs 'flex' with changing temperatures, soil saturation levels, conditions and loads, rather than cracking as poured concrete patio sometimes will.


There are two basic types of pave rs and they are brick pave rs and concrete pave rs. Now, if I have already gotten my pave rs, I can go ahead and lay out two rows on a flat surface to represent the width and  overall surface from side to side will help to remove water runoff on both patios and walkways.


There are tools that I will need to set pave rs. They are garden hose, garden rake, hand tamper, a stiff-bristled push broom, square nose spade, standard spade, carpenter's level. a line level, tape measure, rubber mallet, and a mason's line.

So if I am wanting to have a patio or walkway done at my house, using pave rs are easier than using other materials. So as long as I have all of the tools needed for the job, and all of the materials that I will need I can have a new patio or a new walkway.


What Is Flagstone And How Do You Lay It Down?


Flagstone is a general term referring to any sedimentary rock that cleaves naturally into stepping stone shapes. Because of the large size and weight of flagstone, it does not require the extensive base preparation of an interlocking pave patio. In most cases, I can lay the stones directly on stable, well tamped soil, although a two inch bed of screed ed sand will make it easier to place and level stones of varying thickness. If the soil is very soft or unstable which means having severe frost I will need to lay down a two to four inches layer of compatibility gravel sub base material  land compact it with a hand tamper.


Limestone, quartzite, and slate are some of the most common rock types in the flagstone category. If you are going to use flagstones for your patio or walkways, the flagstones should be at least one inch thick, but at 11/2 to 2 inches is better, because flagstones are split and cleaved into more usable and manageable sizes, not cut, their shapes are slightly irregular, which contributes to their natural quality.


When you are laying out your stones for a patio or walkway, it is like putting a jigsaw puzzle together. As you are laying your stones you want to lay the stones in an eye-pleasing pattern, and you will want to fit them together good so you want have to cut some many stones. Most of the time, the thickest stones are  laid around the perimeter, which serves, as a border to help keep the thinner stones in place. Sometimes the largest stones are placed near the center of the patio and you can do this if you want to. When you are picking out your stones to use, it is best to use large and small stones and placed them in a random pattern, with staggered joints. Most of the time, the larger stones are laid and leveled first, then the smaller stones are fitted in between the larges ones. This way you can be limit to any cutting to the smaller stones.


Before you start laying your base materials, you can experiment with different patterns to make best use of the stones. When you are doing this you start at one corner or side, to figured out your pattern that you want for your patio or walkways.You do not need to dry-lay the entire walkway or patio, but you should at least play around with the stones to get a feel for how they will fit together. But if you do decide to dry-lay the entire project whether it is a patio or walkway, you will need to keep the dry-lay intact, transplanting the stones one at a time into the work site. Another way you can take a picture of the dry-lay and then you can  use it as a reference for redoing the project in your work site. Also you need to keep the joints between the stones from 1/2 inch to not more than 11/2 inch wide.

Since flagstones weighs so much it is a good thing to get plenty of help handling them.

Summary

When you are thinking about using flagstones to make a patio or walkways it is best to make a plan before you do the real thing.


How To Repair Gravel Paths And Edges ?


I have gravel path in my driveway, it is good because if my car is dripping oil, the gravel will soak up the oil. However if I have a gravel path, it will have grass growing in between the gravel with grass and the grass can be trodden into the house. 


To maintain a gravel path, I will need to rake the path very often and I will need to put the application of weedkiller down very often to keep my gravel path looking real good. I can buy silicone resins and  applied it to the gravel to help bind the stones together without affecting their appearance. Thin area can simply be filled by pouring on a bag of new gravel and spread it out with a garden rake.

When I am spreading the gravel out where it is suppose to be I will need to add concrete edges  strips. There should be set on a bed of mortar and hold upright while the mortar sets. If I do not like to use concrete edging strips, I can use bricks or wood instead.

I do not have a garage and I have to park my car out on the gravel path, I can use the oil catching properties there. The concrete will act to keep the gravel in place and the gravel will catch any oil drips. I will need to dig out the area, add compacted hardcore, then add sand and coarse gravel, with fine gravel to level to lay a new gravel path.

Edging is an important part of paving, because it can help to hold the main body of paving in place. There  are many different kinds of edging with concrete edging being the one that is used the most with concrete. Concrete blocks can be used as a edging with a gravel path or drive.

All masonry edging should be bedded in mortar, no matter which kind of paving that has been laid.

When my edging has become loose, take it out and remove all of the old mortar. Put a layer of fresh mortar and push the edging back into place, by using a straightedge to align them with their neighbors, I will need to drive some timber pegs in to hold the edging vertical and tight against the paving finish off by applying a 45 degree fillet of mortar along the base of the edging between the pegs. Now lay a bed of fresh mortar and push the edging pieces back into place, and put them in line with the others. Put in the timber pegs to hold the edging vertical and tight against the paving I will need to finish it off by applying a 45 degree fillet of mortar along the base of the edging between the pegs.

After the mortar has sit, I will need to take the pegs  out, and fill the peg holes with mortar and hide it with soil or grass.

Summary

In this article, we are talking about gravel paths and edges. To me, this goes with how my property looks.

Paths really make a smart look and if I have a very neat or interesting edging, this would make it to look nice.


Wednesday, January 29, 2014

How To Design My Landscape.


I  think that I really need to sit down and get my mind on exactly what I want in my landscape and how I want to have it look.

There are several different things that I can go by in making up my mind on my design of my landscape.

1. Color

There are many  different types of colors that I can use I can use tints, tones and hues. They also have complementary and contrasting color, along with primaries and pastels. All of these different types of colors are a part of the color equation. I can use a lot of the different colors or I can keep it simple, it is up to my own personal taste.

2. Texture

Texture comes in many different types such as soft, rough, smooth, prickly, fuzzy, or glossy. If I want contrast then  mix the delicate with the bold, or soft with the rough. Flowers, bark, foilage, and hardscaping materials all have texture.

3. Scent

To me the sweet scent of some  plants such as roses, jasmine, daphne, rosemary, or lilac are worth the effort to plant them in my landscape such as near a window and close to my outdoor seating areas. It is always nice to grow plants that are  fragrant for every season, so I will be able to enjoy the scents all year long.

4. Sound

There are many different kinds of sound that I can put in my design of my landscape. Some of them are chirping of birds, the tricking sound of water from a stream, the splash of a fountain, the rustling of leaves on a windy dry, or the soft melody of a windchimes can soothe the soul and drown out distraction.

5. Touch

Touch can be with the feel of different plants as well as, the feel of polished pebbles, aged wood, and other nonplant materials.

6. Function

In this, I will need to figure out what I will have in this area. Always design this area with a purpose whether it will be for growing vegetables, a child's  play area. I might want to make this area into an outdoor where I can have my patio set and my grill. Also some people also has a fire pit in this area.

7. Light

Always check out the patterns of light and shadows that is in my garden. For the hot summer days, I can build an arbor that can create a shady spot to relax in.

8. Pattern

There are many different  designs or patterns that I can create in the garden. Some of the patterns that I can have in my garden are brick paving, knot gardens, picket fences and boxwood parterres.

9.  Form

Plants may be columnar, rounded, spreading, billowing, upright or fountainlike. Hardscaping materials and garden ornaments have form too that can be used in designing my landscape.

10. Contrast

I can contrast texture, color, light and form. Contrast attracts attention and always pleases the eye. A little of contrast is soothing and a whole lot is stimulating.

11. Perspective

Perspective changes the way a garden looks, either throught a window or from a deck.

12. Motion

There are many different ways that motion gives life to my garden, such as, water running through my garden, birds flying from tree to tree, and butterflies flying over flower heads.

13. Movement

There are many different  types of movements that I might have in my garden, such as having a lot straight  paths or maybe curving paths. This is a situation where  form follows functions.

14. Change

Always plan for changes in my garden. Perennials spread a whole lot bigger. Trees grows tall, that creates shade where the sun used to be. Welcome change to my garden and always plan for change.

15.  Aspect

Remember that what is shady  in one season will be sunny. All of this is a matter of personal taste.

16.  Personality

Put different things that shows people what has special meaning to you, and that can be many different things.

17. Focal Points

There are many different focal points that I can use in my garden, such as, waterfalls, a container with plants in it, and many others ways.

18. Ecolory

I can grow some native plants in my garden and also invite wildlife to my garden.

19. Scense  Of Places

I use different materials in my garden that makes the garden, mine. I always add my own personality, so the garden will be mine.

20 AArchitecture

Whatever I have with my house's architecture I will put the same in my garden.

Summary

There are many different things that I need to work all of them into my garden.

Landspacing Design From Nature


Nature teaches landscaping. Because there is always a element of mystery of not knowing what,s around the bend. This element of mystery is one of five intriguing characteristics of natural land spaces. 

There are many different landscapes that I can write down. They can be different plants[ flowers that are blooming or find an beautiful image of foliage and bark in pen or watercolors, so I can put a natural design elements in a garden design.

The next step I need to do is to look at my own garden site. Always examine the type of soil in my garden, the available light and moisture, the slope of the ground, and any micro climates my garden may have.

Patterns: Groups Of A Single Species.

A lot of times people think that natural  landscapes are chaotic and does not have much perceptible patterns. But normally the natural landscapes pattern is always there., like in an arrangement of plants.

In nature, most of the plant species are grouped with plants of the same species. This process is done because they have very specific environmental needs that can be met only in certain areas or if they need to have the seed fall near the parent as a means of reproduction results.

When I have either vegetative or seed reproductions most of the time the plants tend to form these natural 'drifts'. A drift is a group of plants with a higher density in the center and also they have a feathered edge of more widely spaced plants. In the garden this is found that they have naturalized drifts of flowering bulbs or drifts of  perennials and annuals that I allow to self-sow.

A Sense Of Place. Regional Landscapes

In each region, there is always differences in soil, climate, and topography. In each region there is distinctive plant communities. Within a single site there may be many different micro habitats, such as having rocky soil and moist, cool, shady areas. Combinations of plants can  go with each type of regional environment. Plant detail is abundant in nature and always should be put in a garden design.

Mystery: Partially-concealed Views.

A wild river landscape has a mysterious appeal. Because this landscape will provide intrigue and invites exp oration. If I add this type of landscape to my garden, not a big river but a small water feature than it will work out great. In a garden setting,  if my bed has a curve in it and I maybe will have a patch of vegetation on the inside of the curve which will block a part of the view. So I can put a bed of low growing perennials, taller vegetation and tall grasses, perennials, shrubs, and trees if I want to use them.

Change Over Time: A Maturing Landscape.

There is always change in my  landscape such as the seasonal changes that I get with new flowering, growth, changing foliage  colors, seed production, and leaf fall. There are also long-term changes that are associated with the reproduction and spread of plants, all the new plants and some of the mature plants dying.

Intricacy: Details Of Bark And Leaf

The plant design in nature is real good and it should be included in my garden design. Some of the plant's details are textural mosses, fine-bladed grasses ,  fern fronds, lichens, slender webbing of deciduous twigs, and branches in winter and there are found out in nature.

Summary

I can get many different landscaping ideas from going out in nature and finding all the many different designs to put in my garden design.

Thursday, January 16, 2014

What Are Different Types Of Gardens Of Fire?


There are many kinds of different fires that I can have out in my gardens. Fire can be illuminating and our eyes are always drawn to its flickering flames which rushes up and then extinguish themselves only to rise again. We always like to feel the radiant heat of the flames and cherish the warmth.


There are five different fire elements that families decides on installing in their gardens for many different reasons. For some people this is a natural extension of the home. By having this I can have comfortable time outside from the very early spring through late fall. A lot of people get together around the fire and have a good time together.

Fire also goes with romance, and families with children goes with fire elements for some good, old-fashioned roasted marshmallows, s'mores, and hot dog.


There are quite a few ways to host open flames in our outdoor space. From fireplaces to torches and lanterns, the garden has a frequent companion which is fire.


A lot of people want to have a fireplace outside in their garden, as well as, having one in their house. Most of the time it is stated that the hearth is the center of the home. The outdoor hearth becomes a natural focus and the centerpiece of the garden.

  I have a large patio so an outdoor fireplace is generally placed at the margin so the entire space can remain usable. Outdoor fireplaces can be constructed of brick, flagstone, or field stone and they can range from the rustic to the extremely modern.


A lot of people who have outdoor fireplaces likes to use decorations as an avenue for self-expression. Some of them use vases and plants to decorate outside as they do inside. Fire pits come in many different ways. A simple hole in the ground lined with stone is the easiest way to get a fire pit. Some people prefer a very refind design with some of life's modern conveniences. Most of the time the fire pit is placed at the center of a patio so that everybody can sit around it.

  The placement of the fire pit is an important consideration. Since I have enough space that I can have a fire pit then the result can be spectacular.  But sometimes people do not have a lot of space and still want a built-in feature, then they need to look to the edges of their patio.


Some people like to have wood burning fire pits and fireplaces with natural gas starters for ease of use. This requires running a gas line to the fire element. A gas emitter is operated by an out of the way valve that is easily hidden behind a loose stone in the veneer. These starters have  to be installed beforehand and must be seen by a licensed professional. I will have more finish work to do once the masonry is complete.

There is one important factor to consider when choosing the materials of my custom fire element and that is the effect of high temperatures on some kinds of concrete and stone.       The high heat caused by fire can damage or destroy stone. Some stones will explodes when exposed to high heat.

Fire bowls can be used in an outside garden. They can be picked up and moved which means they can be multifunctional and this is great when a family wants to relax,  and eat in the same area.


Fire bowls are made out of smooth or beaten copper, and rest on a separate stand. The pedestal that holds up the bowl also conceals the fuel tank. Chimneys has been around for along time. These terra-cotta and  pottery chimneys are real nice to be able to put some chairs around them and get warm.

Patios do not always have any type of fire on it. A real good way to be able to add nighttime ambiance to a gathering would be to use a lot of well-placed series of torches or lanterns. Since light seems to attract bugs so everybody should have bug repels such as citronella oil on hand.

Summary


It does not matter what type of fire I am going to put outside in my yard or even if I decided to used only torches and lanterns, I will then always be ready for company.

Tuesday, January 14, 2014

How To Choose Plants For A Pond?


Plants are used in the pond performed both as an ornamental and an ecological functions in a water garden. When I am ready to start choosing the plants for my water plants, I also need to keep the ecological function of each plants that I choose some of the plants needs to include oxygenates, which are ones that help starve out algae and it contribute to a balanced environment.  Another type of plants that needs to be in a pond that cover the water surface to create shade, which will discourages algae growth and this will give the fish that is in the pond some relief from the hot sun. Between one-half to two-thirds of the water surface in the pond needs to be cover with plants. Water lilies will not cover the surface area to shade the pond. That is why many people like to use  floating plants to give more coverage until the water lilies have time to established.  Floater plants float on the surface and they draw their nutrients from the water, they do not grow in soil at all. Frogbit which looks like tiny water lilies is a floaters . There may be a need to thin out the more-prolific spreading floaters, definitely when the water lilies and the deep-water aquatic plants come into their own.

The final category of plants for a pool or pond garden is marginal plants. They need to be submerged in shallow water so their roots are permanently underwater while their flowers and leaves emerge above the surface. These plants needs to be put in shallow water, so they need to be place on the underwater shelf around the  edge of the pond. A good way to do this is to grow these plants in baskets or pots, because this way they can be divided and re potted the plants easily. Always avoid mixing different varieties in a single container. A couple of marginal plants are pickerel weed and water iris.

For every square yard of the pond, this is a formula that anybody can go by to have an ecologically balanced pond environment. They will need twelve water snails, two fish, one water lily, two oxygenating plants and one log plant. The water snails will glide along the pond surfaces and they eat plant material and algae. The two fishes help the water garden environmental by eating pests, which are flies, aphids, and mosquito larvae.

The water lily promotes pond health by caving the surface of the pond. It provides shade for the fish, prevents oxygen loss and evaporation. The bog plant will keep the pond clean and it takes care of algae because they consume the excess nitrogen and phosphates of the pond.

There are two different types of water lilies and they are either hardy and tropical. Hardy lily will grow in zones 3 to 11. The lily will bloom as long as the water temperature is above 60 degree F and the air stays above 70 degree F. In areas of the country that has cold winters, the water lily will bloom from late May into September. If the daytime temperatures stays around 70 degrees F even in the winter, the lily will bloom nearly year-around. In areas where it freezes the water lily will died down in winter and come back up in the spring.

Hardy water lilies bloom only in the daylight hours, which are from 9:00 A. M. to 3:oo P.M. and 5:00 p.m.

Tropical water lilies are frost tender in zone 10- 11, they grow like perennials and they bloom  all year. In colder climates they are grown as annuals and then they are replanted when spring comes or they are dug up and brought in out of the freezing cold. The tropical lilies will start blooming after they have  two to three weeks of 80 degrees F temperature. They do not do good in the Pacific northwest and other parts of the country has cool summer.

There are two types of tropical water lilies and they are day bloomers open their flowers in the morning and close in the mid-to-late afternoon. Night bloomers open after sunset and stays open until late morning or early afternoon the next days. Both kinds of tropical water lilies are fr agent. So I will plant both kinds so I can have blooms to enjoy twenty-four hours a day.

Water lotuses are able to overwinter in a climate as cold as zone 4, but they need to have some warm days before they will bloom. Lotuses are usually large plants with some like 'Alba Grandifora, will produce  six to eight inch blossoms on stems 4 to 5 feet above the water surface. Mrs. Perry D. Slocum has leaves that are eighteen inches across. Charles Thomas has fragrant lavender-pink flowers on stems that stand 3 to 4 feet above the water. Do not plant lotus plants directly in an earth-bottom pond, but plant them in pots and in ponds with liners. This is done because lotus are aggressive growers.

For my garden pond, I am going to get a variety of different plants, for it along with my fish, snails, and so on.

Saturday, January 11, 2014

How To Transplant A Large Shrub?


I think the best way to move a large shrub is to water the area for a few days ahead of trying to dig up the plant. This also will help against causing stress to the plant. Another good reason to water ahead of time is the soil being moist will be easier to dig and the soil will cling to the plant's roots to maintain a real firm root ball . The  place where I am going to put this plant, I go ahead and get the area ready. I figure out how big the root ball is so I can make sure I have the hole plenty big enough and I will dig the hole as deep as the root ball and twice as wide.

The tools  and materials that are needed gloves, shovel, dolly or tarpaulin and a source of water.

As I am starting to cut around the root ball with a shovel, I will pry my shovel underneath the plant. I do this all around the shrub, loosening, cutting, and working it to dislodge it.

 
After I get the root ball loosened enough, I will pull on it to remove the shrub from the ground.

I will put my shrub on my dolly and move it to my new location.

After I get my plant to its new home, I will fill the hole with water. Then I will wait for the water to disperse before I put the plant in the hole.

While I am waiting for the water to soak in, I will then make sure my hole is not, than I will make it larger.

Then I will sit the plant in the hole, making sure it is in the hole straight and it is facing the way that I went it to face.

The next thing I need to do is to create a berm or moat, around the plant's drip line, so the water will soaks into the soil and  not run off. To make a berm or moat, I will use leftover soil dug from the hole.

Water the plant well, wait for it to soak into the soil, and  then water again. Then mulch around the plant to reduce weeds and to make moisture.


"> a href="//www.pinterest.com/pin/create/button/" data-pin-do="buttonBookmark" >

Monday, January 6, 2014

How To Build A Retaining Wall Using Interlocking Blocks


A retaining wall can hold back  in many different places in my yard, such as a hillside. Retaining walls are not just limited to only slopes, but I can use them anywhere in my yard, such as edges of garden beds, groups of trees and shrubs or outdoor living areas.

To have a long lasting retaining wall has to be properly constructed and have a good drainage system.

A retaining wall should not be over four feet high. A small retaining wall definitely have to hold up enormous loads like 20 tons of saturated soil. Sometimes this project gets to be more than what a do-it-yourself can do. If that happens, always hire a professional builder.

Step 1

A. Start digging out of the slope so I can create a battered surface for the retaining wall. Then always allow one foot of space for the gravel back fill between the back of the wall and the hillside.

B. Put my stakes to mark the ends of the front edge of the wall and if I am going to have curves or corners. Then I will take my string and connect them all. Take your line level and adjust the string until I get it level.

C. Now I will dig a trench for the first row of blocks and the gravel sub base. The depth of the trench need to equal the height of the blocks plus 8 inches. I will use my string to make sure the trench remains level.

D. Put sheets of landscape fabric and cut them three feet longer than the height of the wall and line the excavation. Arrange the landscape fabric so they overlap by at least 6 inch.

Step 2.

A. Put a six inch layer of compatible gravel sub base into my trench. The next step is to compact it with my hand tamper.

B. Now I will lay the first row of blocks in the trench, making sure the front edges are align with the string.

C. Always check the blocks a lot of times with the level. If they are unlevel them I will need to add or remove the gravel, till I can get it level. Always sweep off the top of the blocks before I begin the next row.

Step 3

A. Start laying the second row of  blocks and make sure the blocks  remain level.

B. Place four inch perforated drainpipe over my gravel sub base behind the blocks. One end of the pipe has to be unobstructed so that runoff water can escape.

C. While I am adding six  inches of coarse gravel behind the blocks and pack it very good, but do not crush the drainpipe.

D. Keep laying rows of block until the wall is eighteen inches high.

E. Fill behind the wall with coarse gravel and always pack it down with a hand tamper.

Step 4

A. Finish laying all the remaining rows of block, not the capstone row, always back filling and tamper as I go.

B. Fold the end of the landscapes  fabric down over the gravel back fill.

Step 5

A. Following the manufacturer's instructions. apply the construction, apply the construction adhesives. Lay the capstones in place.

B. Put topsoil to fill behind the wall and in front of the base of the wall.

C.  Now I can figure out what I want, whether it is sod or plants above or below the wall.

SUMMARY

Retaining walls can really change up the way my lawn looks.