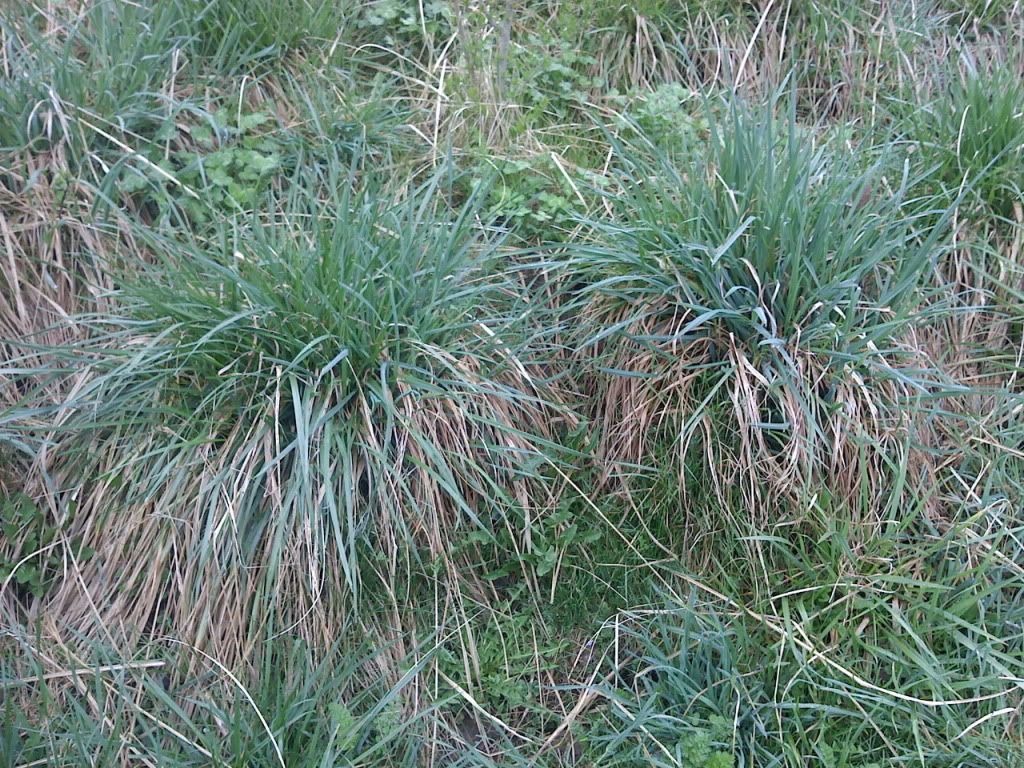
Having a lush green grass in a yard is very easy to have now, because we have many new hybrid grasses that look very good and it shrug off drought, disease, and insects.
The plant scientists have not been able to develop a single type of grass that will grow in every area and climate. So I will need to go through all the choices and then choose what would be the best type of grass for my yard.
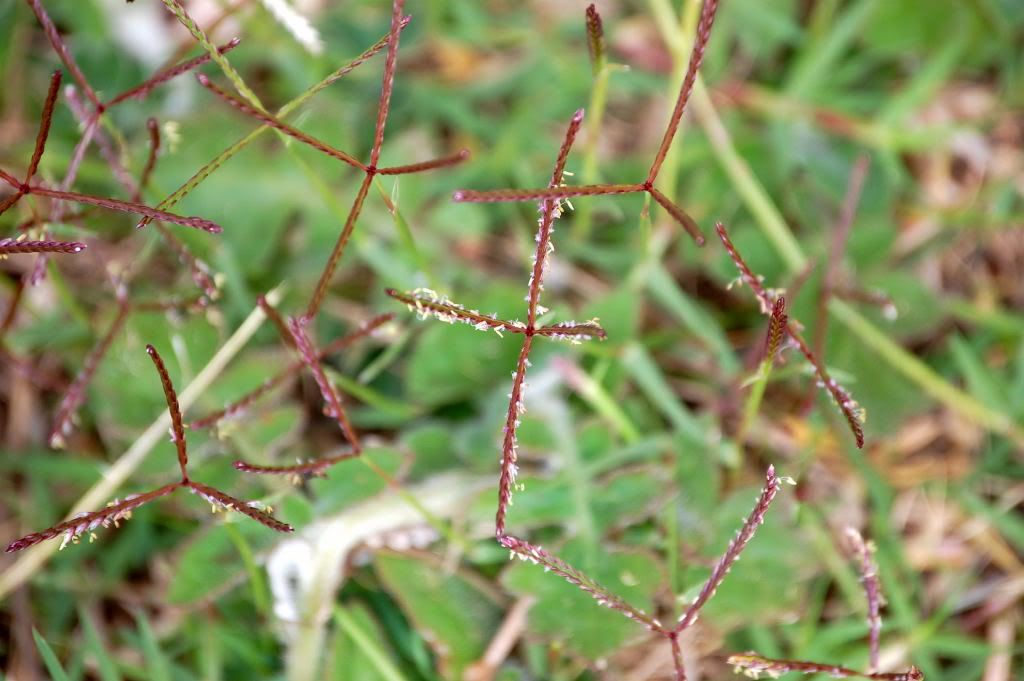
All lawn grasses are in either cool or warm season. Cool season grasses grow faster in the fall and spring and then slow down in summer and winter. So they are at home in the cool, moist north. Warm season grasses grow fastest during the heat of summer and turn brown as the weather cools. Warm season grasses grows in warm, hot climates.
Zone 1 Humid Northeast and Northwest This zone is good for cool season grasses such as, perennial rye grass, Kentucky blue grasses, and fine fescues. Kentucky bluegrass is the preeminent choice for this zone. It has fine texture, quick growth, deep color, and outstanding cold hardiness. There are many new hybrids that has improved disease resistance. Midnight or Unique has a blend of disease-resistance. Challenger, Opal, Washington, Cobalt, Livingston, and Midnight will remain a handsome dark green grass with less fertilizing. Perennial rye grass is mixed sometimes with Kentucky bluegrass and this provide quick cover until the bluegrass establishes itself. Divine, Stallion Supreme, Stallion Select has endorphins which is leaf-inhabiting fungi that kill leaf-feeding insects or repel. Fine fescues are the best type of grass for cool season choice for shaded areas, which requires less mowing and fertilizing. Flyer Aurora, Brigade, Banner 11, and Discovery are put with Kentucky bluegrass.
Zone 2 Transition Zone This is where the Southern and Northern lawn climate zones int erect. If your yard are exposed to the south-facing slope and it is where the sun is intense and heat will favor a warm-season grass. Now if your yard is a cooler north facing, it will prefer a cool season grass. Tall fescue which is a cool season grass which are ideal where the summer are very hot for other cool season grasses and the winters are to severe for warm season grasses. These grasses are planted in the East and also in the milder parts of the Southwest. These types of grass that has endorphins are Earth Save, Titan 11, Rebel 111, and Tarhead. Zones 3 and 4 Humid Southeast Bermuda grass, zoysia, and other warm season grasses grows very well in these zone. Bermuda grass is very good type of grass for this areas because it is heat and drought tolerant and fast spreading. Zoysia goes well in most Southern lawns. This type of grass is one that starts very slowly, but in time it is relatively low maintenance and tolerates traffic, heat, and drought. These are names of some of the zoysia grass and they are Victoria, De Anza, El Toro, and Emerald. These grasses offer longer color offer faster growth, and a finer texture. St. Augustine grass grows only in the mildest regions of the south. This grass can not tolerate prolonged temperatures below 25 degree F. Flora tam is the one that is used the most often. I have St. Augustine and Bermuda grasses in my yard. Zone 5 Cool, Dry, West The cool season grasses will grow here, but they have to have a lot of watering so they can grow. But if watering a lot is not something that you can do if you live there, you can use buffalo grass. It is low maintenance once you get your grass established. It browns when the first frost comes, and it is slow to become green in the spring. This grass is very cold-tolerant. Two new varieties of grass are Cody and Bison. Zone 6 Arid and Semiarid Southwest The difference between zone 3 and Zone 6 is rainfall. There are a lot of rain in one area and not much rain in the other area. Bermuda grass is the best choice and the other two alternatives are zoysia and St. Augustine.
As you see we have six different zones in the U. S. A . In each zone, you will have to used the grass that will grow in your zone.
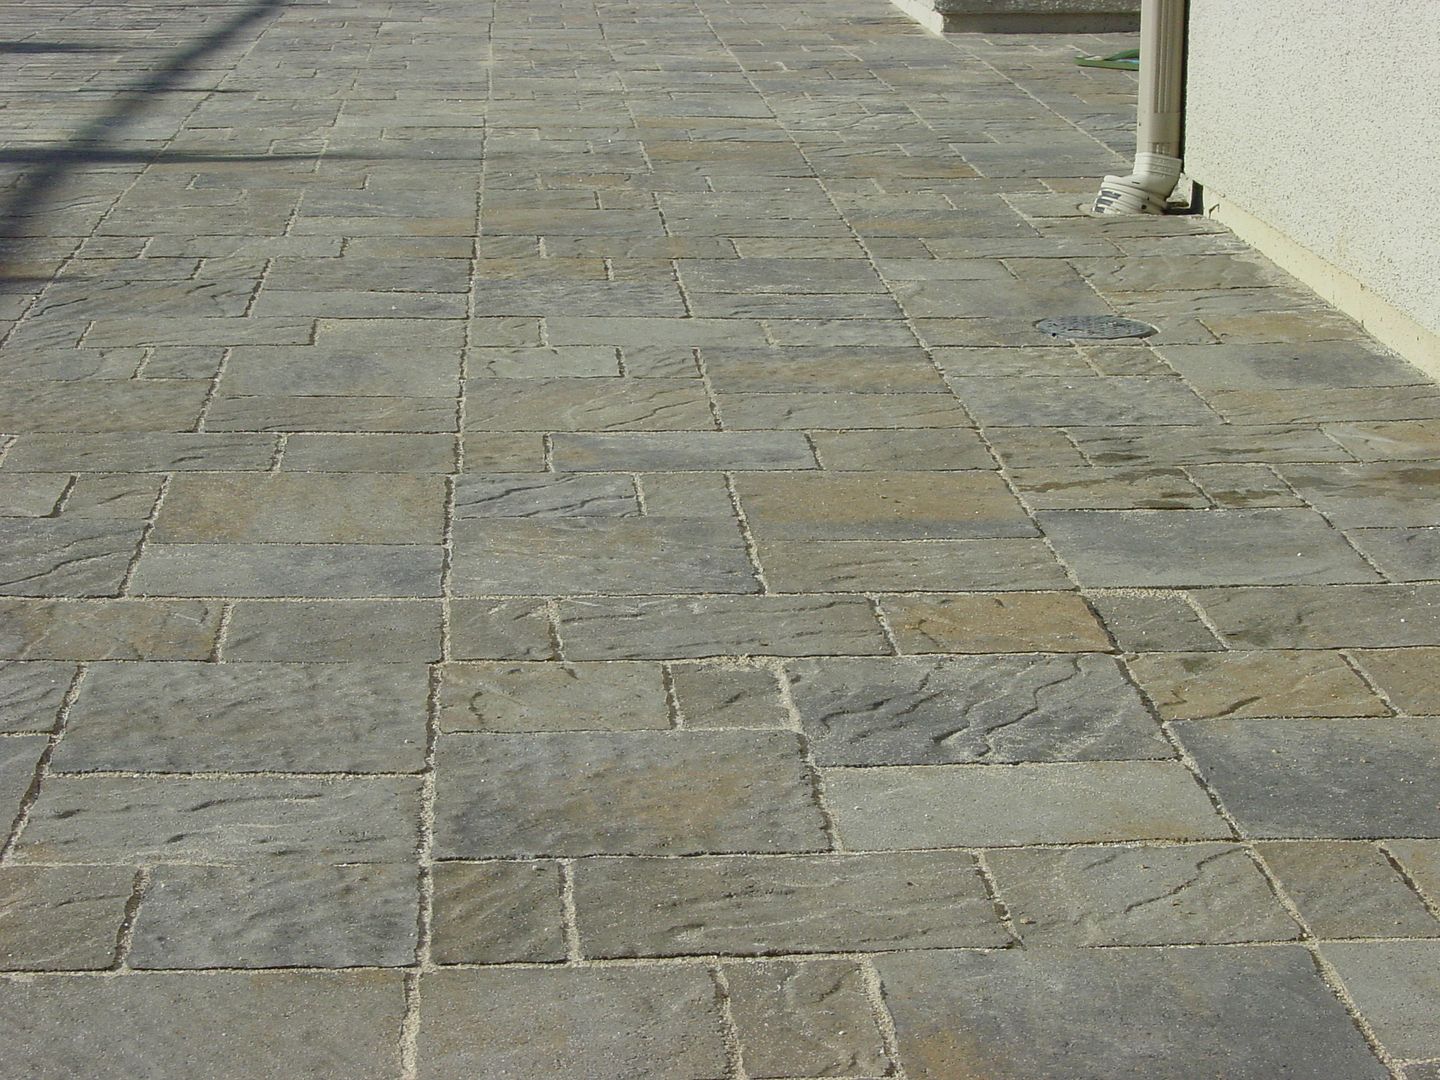
Interlocking pave rs are a very popular surfacing materials for patios, driveways, and walks. They are easy to install and when set on a firm properly prepared sub base, they will hold up to foot traffic and heavy loads under many different weather conditions, without sinking, cracking, or shifting.
With them being set in sand, the pave rs 'flex' with changing temperatures, soil saturation levels, conditions and loads, rather than cracking as poured concrete patio sometimes will.
There are two basic types of pave rs and they are brick pave rs and concrete pave rs. Now, if I have already gotten my pave rs, I can go ahead and lay out two rows on a flat surface to represent the width and overall surface from side to side will help to remove water runoff on both patios and walkways.
There are tools that I will need to set pave rs. They are garden hose, garden rake, hand tamper, a stiff-bristled push broom, square nose spade, standard spade, carpenter's level. a line level, tape measure, rubber mallet, and a mason's line. So if I am wanting to have a patio or walkway done at my house, using pave rs are easier than using other materials. So as long as I have all of the tools needed for the job, and all of the materials that I will need I can have a new patio or a new walkway.
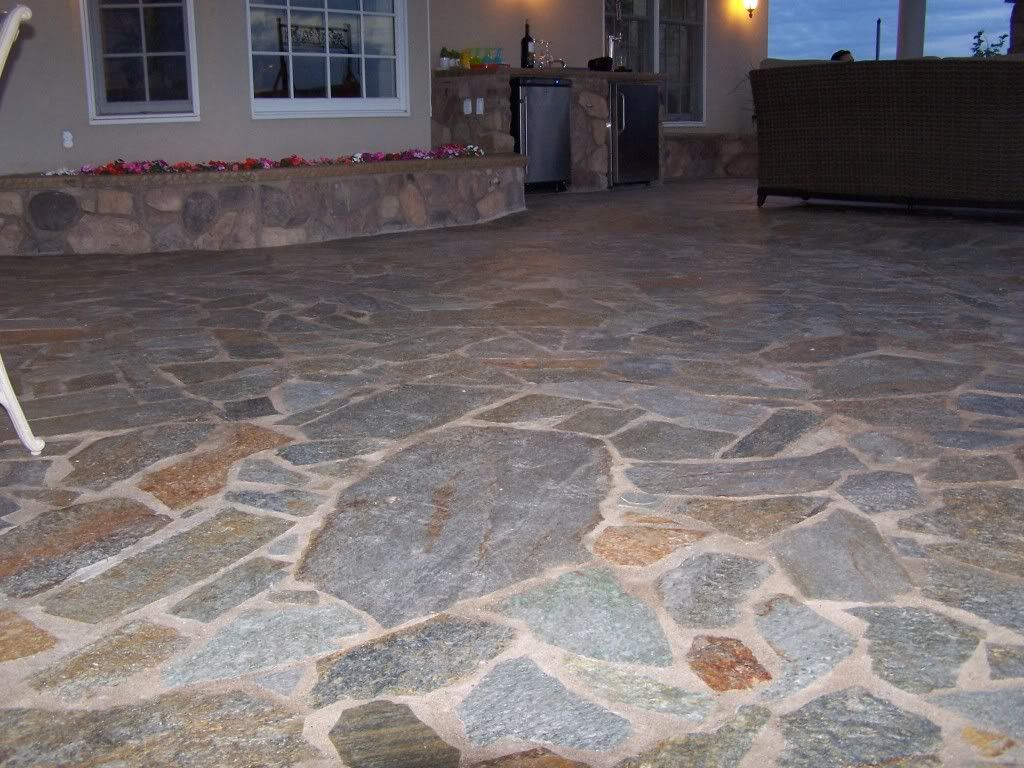
Flagstone is a general term referring to any sedimentary rock that cleaves naturally into stepping stone shapes. Because of the large size and weight of flagstone, it does not require the extensive base preparation of an interlocking pave patio. In most cases, I can lay the stones directly on stable, well tamped soil, although a two inch bed of screed ed sand will make it easier to place and level stones of varying thickness. If the soil is very soft or unstable which means having severe frost I will need to lay down a two to four inches layer of compatibility gravel sub base material land compact it with a hand tamper.
Limestone, quartzite, and slate are some of the most common rock types in the flagstone category. If you are going to use flagstones for your patio or walkways, the flagstones should be at least one inch thick, but at 11/2 to 2 inches is better, because flagstones are split and cleaved into more usable and manageable sizes, not cut, their shapes are slightly irregular, which contributes to their natural quality.
When you are laying out your stones for a patio or walkway, it is like putting a jigsaw puzzle together. As you are laying your stones you want to lay the stones in an eye-pleasing pattern, and you will want to fit them together good so you want have to cut some many stones. Most of the time, the thickest stones are laid around the perimeter, which serves, as a border to help keep the thinner stones in place. Sometimes the largest stones are placed near the center of the patio and you can do this if you want to. When you are picking out your stones to use, it is best to use large and small stones and placed them in a random pattern, with staggered joints. Most of the time, the larger stones are laid and leveled first, then the smaller stones are fitted in between the larges ones. This way you can be limit to any cutting to the smaller stones.
Before you start laying your base materials, you can experiment with different patterns to make best use of the stones. When you are doing this you start at one corner or side, to figured out your pattern that you want for your patio or walkways.You do not need to dry-lay the entire walkway or patio, but you should at least play around with the stones to get a feel for how they will fit together. But if you do decide to dry-lay the entire project whether it is a patio or walkway, you will need to keep the dry-lay intact, transplanting the stones one at a time into the work site. Another way you can take a picture of the dry-lay and then you can use it as a reference for redoing the project in your work site. Also you need to keep the joints between the stones from 1/2 inch to not more than 11/2 inch wide. Since flagstones weighs so much it is a good thing to get plenty of help handling them. Summary When you are thinking about using flagstones to make a patio or walkways it is best to make a plan before you do the real thing.
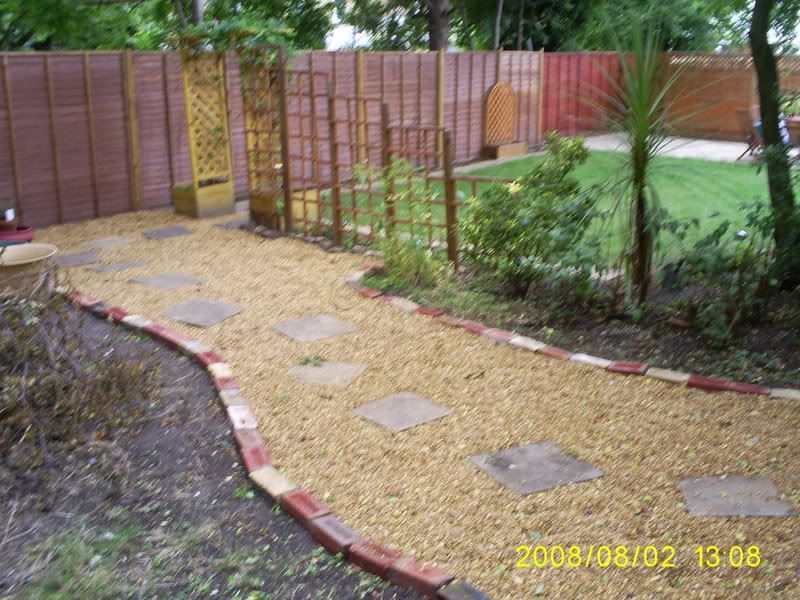
I have gravel path in my driveway, it is good because if my car is dripping oil, the gravel will soak up the oil. However if I have a gravel path, it will have grass growing in between the gravel with grass and the grass can be trodden into the house.
To maintain a gravel path, I will need to rake the path very often and I will need to put the application of weedkiller down very often to keep my gravel path looking real good. I can buy silicone resins and applied it to the gravel to help bind the stones together without affecting their appearance. Thin area can simply be filled by pouring on a bag of new gravel and spread it out with a garden rake. When I am spreading the gravel out where it is suppose to be I will need to add concrete edges strips. There should be set on a bed of mortar and hold upright while the mortar sets. If I do not like to use concrete edging strips, I can use bricks or wood instead. I do not have a garage and I have to park my car out on the gravel path, I can use the oil catching properties there. The concrete will act to keep the gravel in place and the gravel will catch any oil drips. I will need to dig out the area, add compacted hardcore, then add sand and coarse gravel, with fine gravel to level to lay a new gravel path. Edging is an important part of paving, because it can help to hold the main body of paving in place. There are many different kinds of edging with concrete edging being the one that is used the most with concrete. Concrete blocks can be used as a edging with a gravel path or drive. All masonry edging should be bedded in mortar, no matter which kind of paving that has been laid. When my edging has become loose, take it out and remove all of the old mortar. Put a layer of fresh mortar and push the edging back into place, by using a straightedge to align them with their neighbors, I will need to drive some timber pegs in to hold the edging vertical and tight against the paving finish off by applying a 45 degree fillet of mortar along the base of the edging between the pegs. Now lay a bed of fresh mortar and push the edging pieces back into place, and put them in line with the others. Put in the timber pegs to hold the edging vertical and tight against the paving I will need to finish it off by applying a 45 degree fillet of mortar along the base of the edging between the pegs. After the mortar has sit, I will need to take the pegs out, and fill the peg holes with mortar and hide it with soil or grass. Summary In this article, we are talking about gravel paths and edges. To me, this goes with how my property looks. Paths really make a smart look and if I have a very neat or interesting edging, this would make it to look nice.